| |
2. |
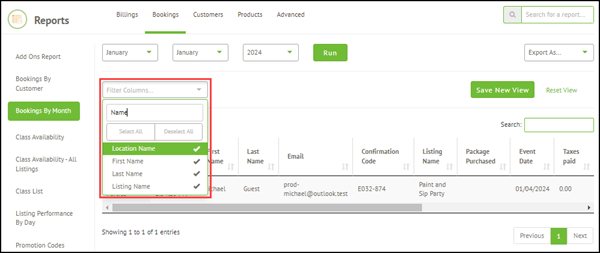
(Optional) Select which columns to show or hide in the report: |
| |
a. |
Click the Filter Columns drop-down. |
| |
b. |
(Optional) Type part or all of the column name. |
| |
c. |
Click the column name to show or hide it. |
| |
3. |
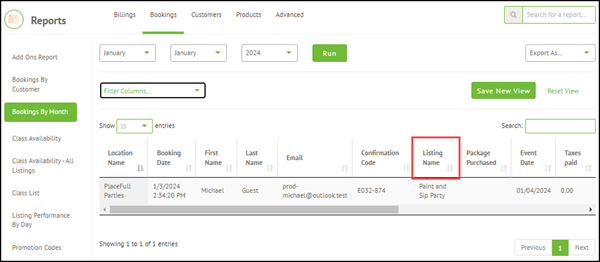
(Optional) Change the order of the columns: |
| |
a. |
Click on the column heading of the column you want to move. |
| |
b. |
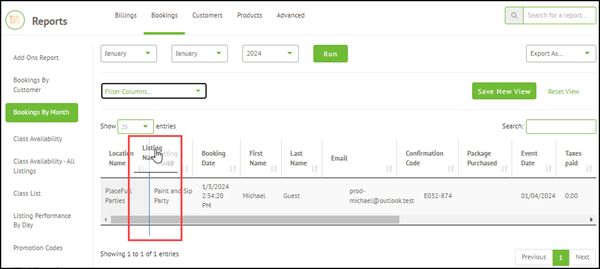
Drag the column to the desired position in the table. A vertical line indicates where the column will be moved. |
| |
4. |
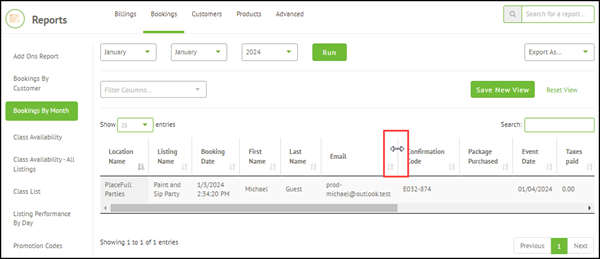
(Optional) Change column widths: |
| |
a. |
Click the right-hand edge of the column header. |
| |
b. |
Drag the edge of the column header to the left or right to change the column width. |
| |
5. |
(Optional) Click on a column header once to change the sort order of the column data. You can sort in two directions: |
-
Descending order: The highest value is at the top and the lowest value is at the bottom (e.g., 9 to 0 for numbers and Z to A for letters).
-
Ascending order: The lowest value is at the top and the highest value is at the bottom (e.g., 0 to 9 for numbers and A to Z for letters).
| |
6. |
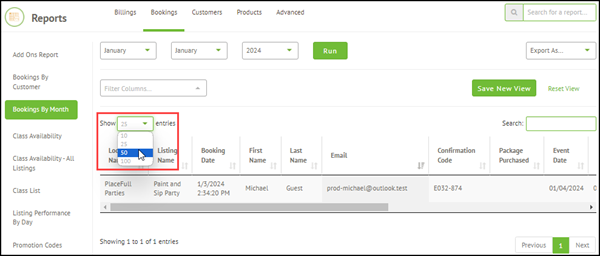
(Optional) Select how many entries (rows) display per page. |
| |
7. |
(Optional) Click Reset View to reset the report to default. |
| |
8. |
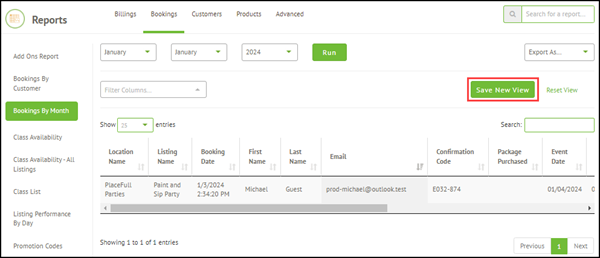
(Optional) Save the custom view so you can use it in the future: |
| |
b. |
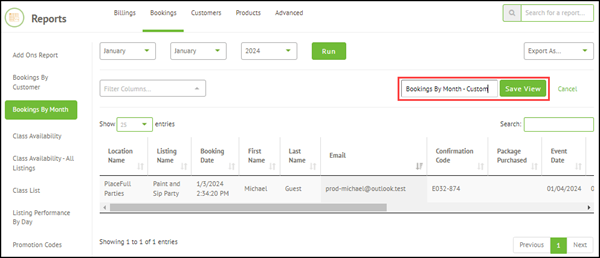
Type a name for the custom view. |
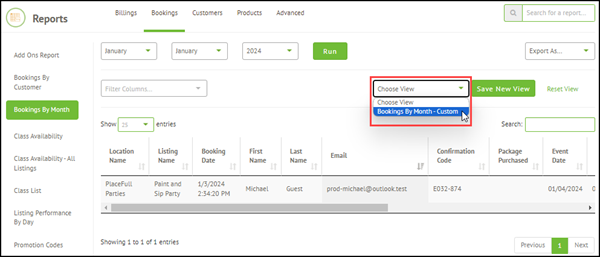
The Choose View drop-down displays. Select the saved view from this drop-down.

Comments
0 comments
Please sign in to leave a comment.